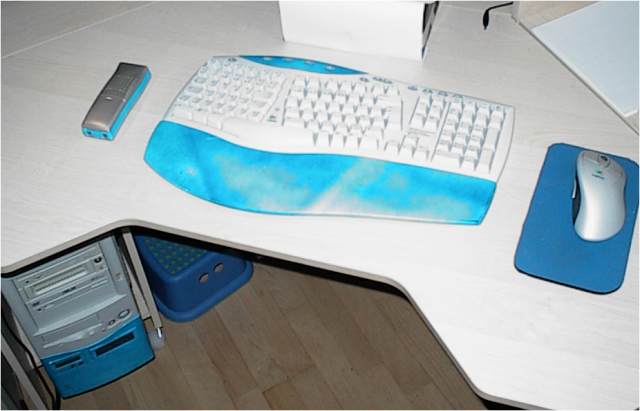
| This is my desktop workspace. I like blue, and I got tired of the dark
colored parts that I had to look at every day, using my computer.
It is nice to add lights to the computer, but as I keep it under the table, I
rarely look at it. I do however look at the mouse and keyboard -. all the time.
So I dreamed of lighting it up! This is how I did just that.
|
 |
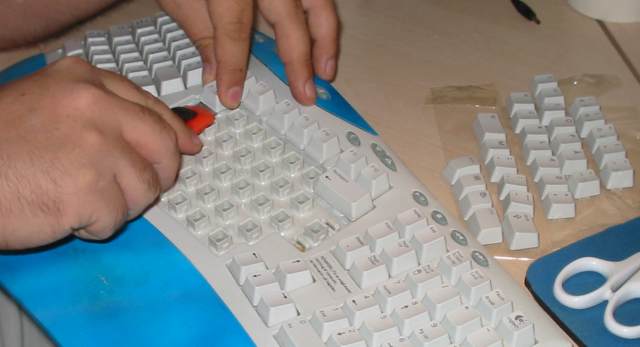
As I had previously opened the Logitech Cordless Desktop Pro keyboard, I knew
that I could not get access underneeth the key by opening the keyboard.
Thus I had to remove every key top.
I used a knife to lift the key straight up, well almost straight up, as I
discovered it to be easier to get the keys to seperate from the keyboard,
if I lifted a bit more in one corner of the key.
|
| To make it easier to get the keys in place again, I placed then on soem
upside down tape on the desk, it turned out to be a good idea, as even though I
later accidently pushed the keys, they did not get into disarray. |
|
|
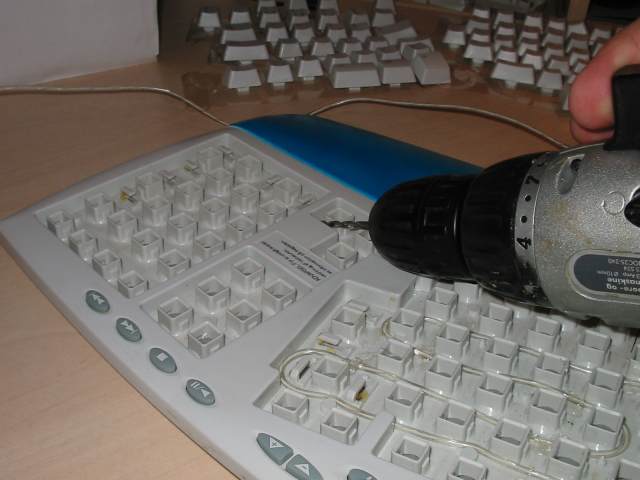
I test placed the wire, so see how far it would go. I had 6 feet of wire, and
it covered the entire keyboard.
Holes had to be drilled between the groups of keys, as I only had access from
the top of the keyboard.
|
 |
| I tried using super glue, but the version of super glue I had at hand, did
not dry very fast (took more than five minutes!), so I enden up hot glueing the
wire to make it say in place.
The wire is 2.3 millimeter thick, and that is as thick as can be allowed. I
had to trim some of the edges off of the keys as I typed this text, as pushing
some keys would make it stick or make a small "slam" sound as it would
hit the wire. So on this type of keyboard, it is very important to get the wire
snug to the base of the key base.
|
 |
The last key group to be wired were the cursor-quick-move keys. On this
picture the electric wire has not yet been soldered to the neon wire.
|
 |
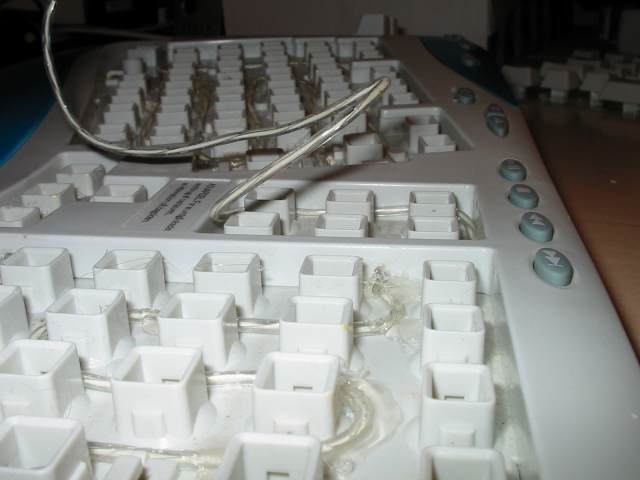
In this picture you can sort of follow the path of the wire.
|
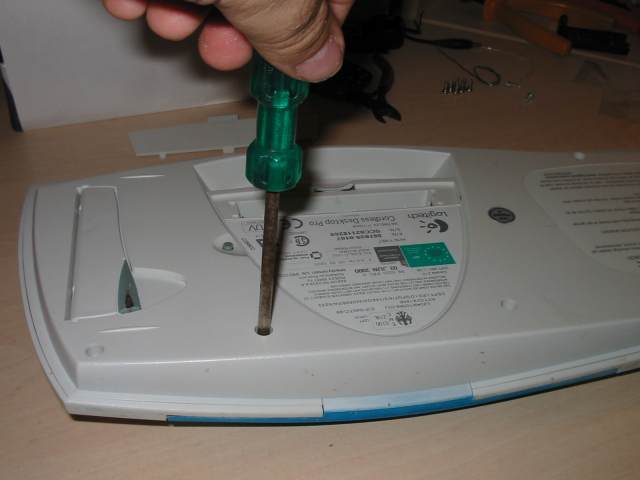 |
My plan is to hide a battery operated neon wire converter inside the
keyboard. To get the electric wire to run from the top of the keyboard front and
to the inside of the keyboard body, it has to come apart. First all the screws
on the outside (do not forget the one inside the battery compartment).
|
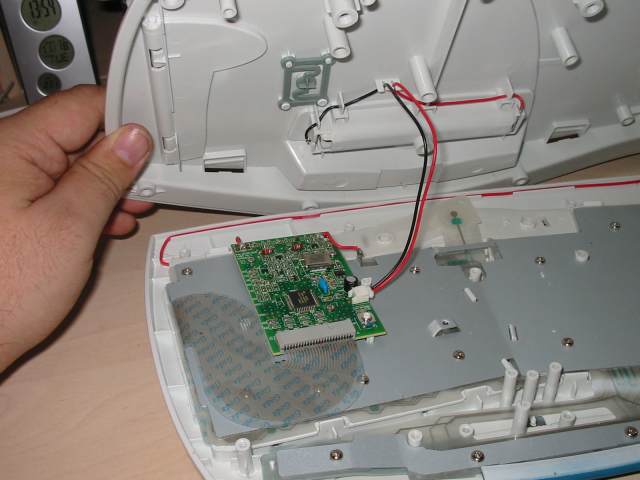 |
| Next step: Remove the metal plate that support the plastic wireboard and the rubber
spring system. I did not want to remove the circuit board if it could be
avoided. It turned out to be enough to unscrew the one side of the metal plate. |
 |
|
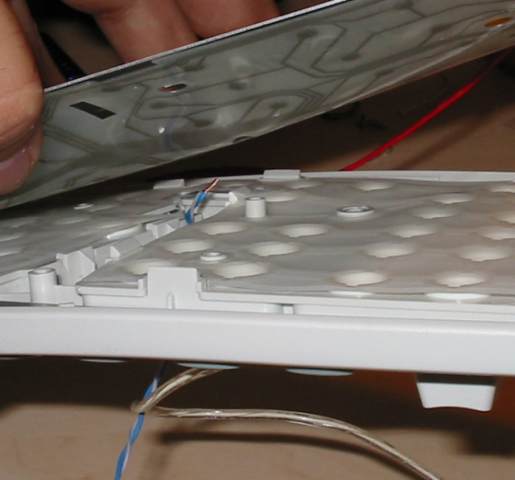
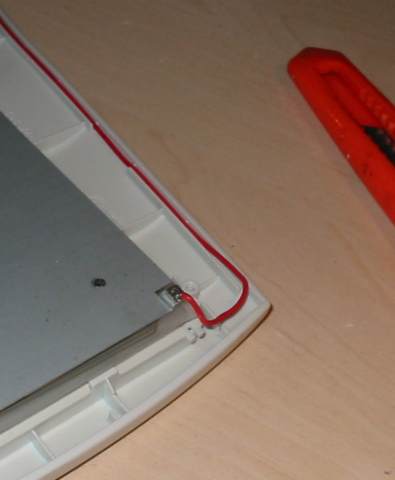
With the metal plate loosened, I could lift it enough to get access to the
blue wire I had soldered to the neon wire.
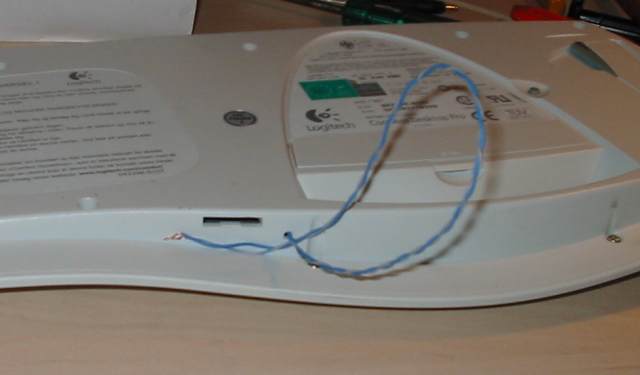
The handrest on this keyboard is completely hollow, so I dediced to store the
converter and battery holder for the neon wire in the handrest. Here the blue
wire exits the main keyboard case.
|
 |
The red wire running along one side of the keyboard seems to be the antenna
for the system. |
|
| The converter had a slight high pitch whine. As I expected this whine to come
from the transformer, as some sort of vibration, I wondered if adding some glue
to the converter would limit the vibration. I wanted to use epoxy cement, but
had none in the drawer, so I went ahead using hot glue. It acctualy helped! So I
filled it up as much as I could, and it got more and more silent. Some people
may not mind the slight sound of the standard converter, but it strikes a nerve
for me, so I wanted it as silent as possible. |
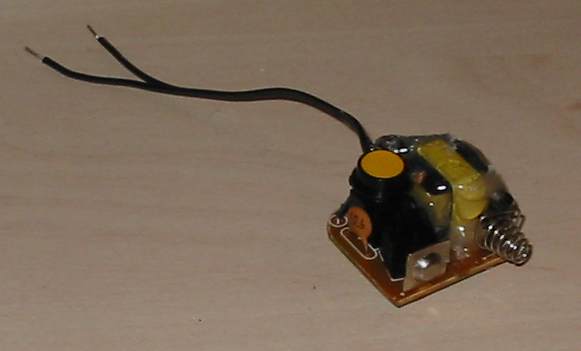 |
The now almost solid converter.
|
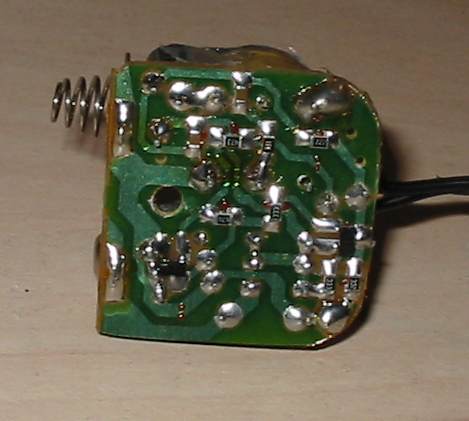 |
SMD components are mounted on the underside of the circuit board of the
converter. It is very compact. I had to sort of pump some of the hot glue into
the system, as the few components on the top side were mounted very, very close.
|
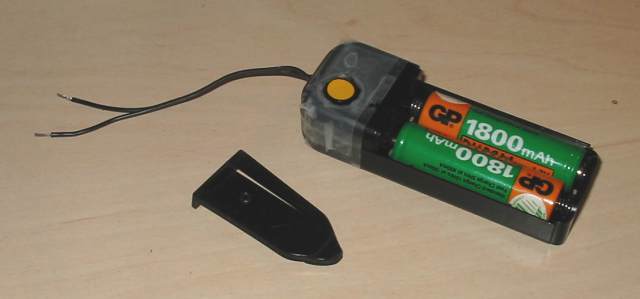 |
The battery case had a belt clip on the back. There is no need for the
beltclip to take up valuable space in this mod.. When I removed the belt clip, I
was however not able to screw the top and buttom of the battery case properly
together again, the screw was too long. Some tight wraped scotch tape now holds
it all together. As I have wraped the scotch tape a couple of times, it should
last for a handfull of years.
|
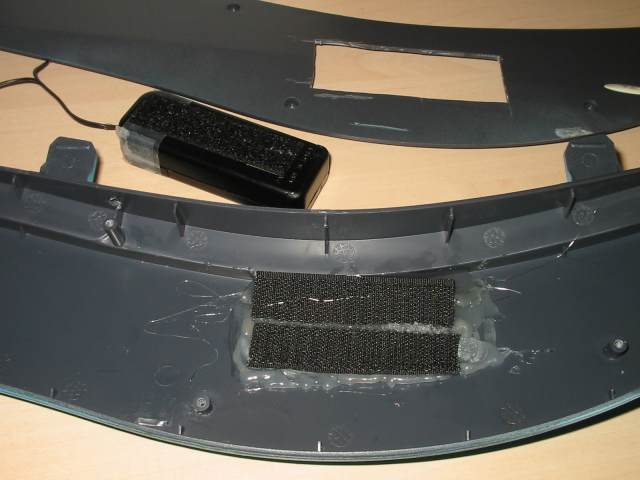 |
| The insides of the handrest, in the original dark color. A couple of stips of
velcro hot glued to the topcover of the handrest should give a good hold on the
battery/converter. |
 |
I may have to cut some finger holes into the buttom of the handrest, as I find
my self unable to get the velcro to let go of the batterycase, for replacement
of batteries. I'll do that tomorrow. It is getting to late today.
|
|
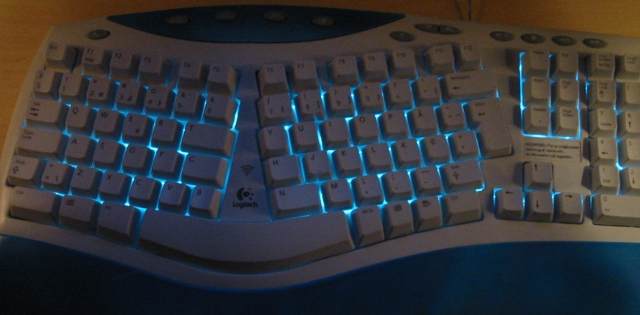
And there is light! |
 |
|
And it glows!!! |
 |
|
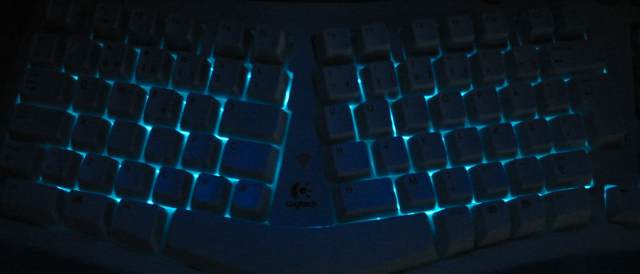
Even when it is completely dark in the room. |